
Converting a Raster Drawing to Vector Graphics
Raster images are made up of pixels and lose clarity when enlarged. Vector graphics, on the other hand, are defined by mathematical shapes, so they remain sharp and clear regardless of size. This is why vector graphics are preferred for printing and design work.
If you only have a raster file type such as JPEG, TIFF, PNG, or BMP, you need to convert it to a vector graphic before sharing your file for UV Printing, Laser Marking, and similar processes.
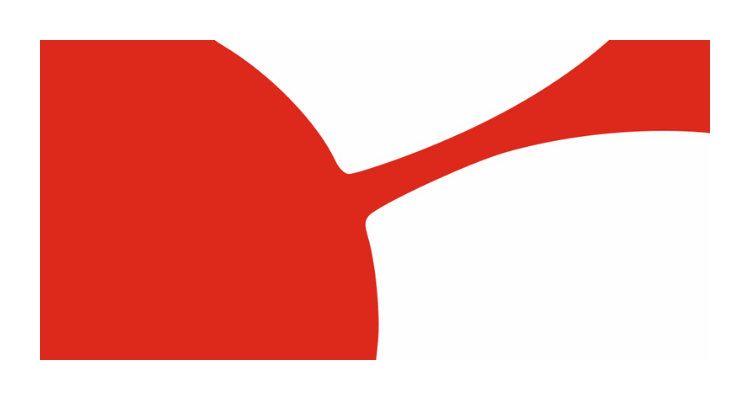
Raster Image

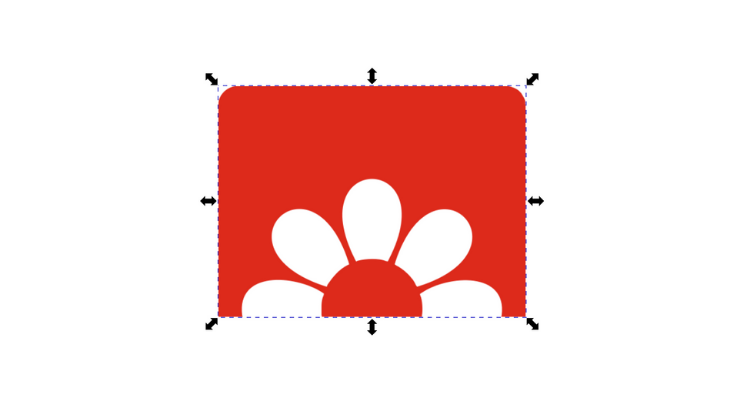
Vector Graphic
In this guide, we will walk you through how to easily convert a raster file to a vector graphic step by step using Inkscape software. Inkscape is open source and free.
Why Do We Need Vector Graphics?
Vector files are defined by geometric shapes and precise coordinates. This allows our printing machines to process the drawing with high accuracy. On the other hand, raster files are made up of pixels and, depending on their resolution, lose sharpness and clarity during printing. The inability of raster files to produce accurate edge lines at every size reduces print quality and causes loss of detail. Therefore, you need to convert your designs to vector graphics to achieve perfect printing results.
Let's Get Started
1) Import Your Raster Drawing
Create a new document in Inkscape and import your raster image.
If you click on your drawing with the Node Tool, you will see that no nodes are selected. Also, when you zoom in on the drawing, you will notice that the quality deteriorates.
We will solve this problem once you complete the following steps.
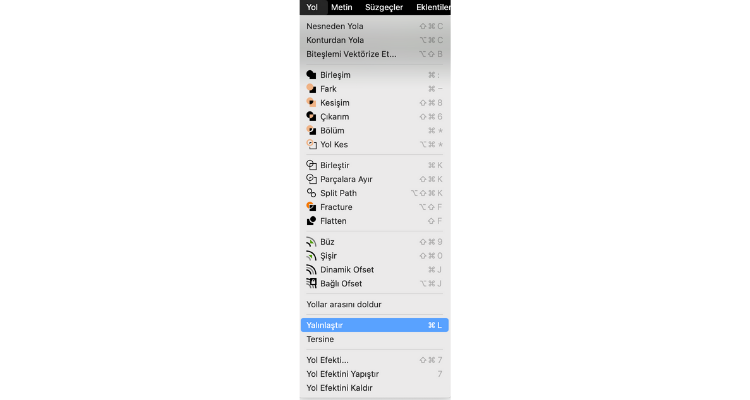
2) Trace Bitmap
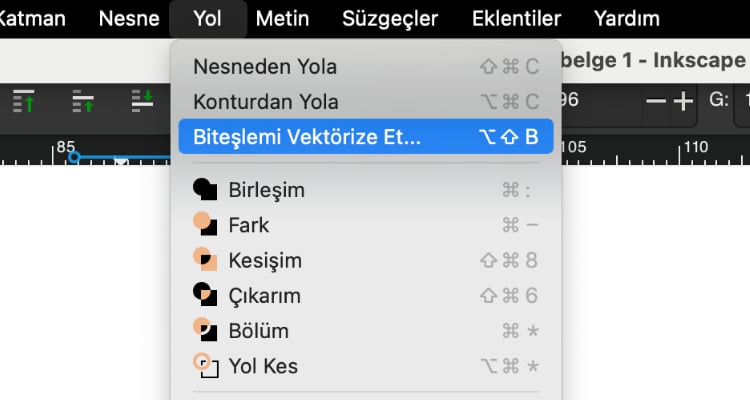
Click on the Trace Bitmap button under the Path menu.
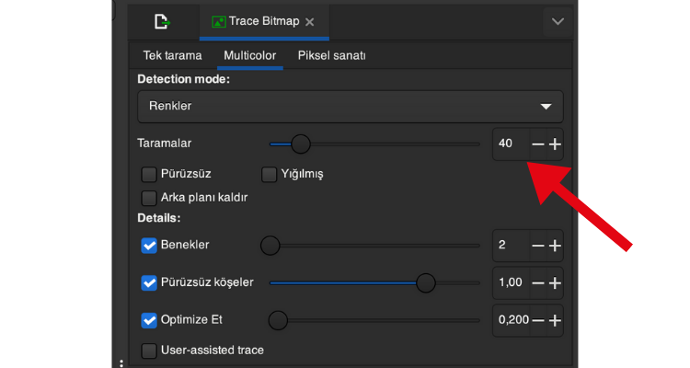
At the top of the opened window, you will see multiple options. Since we are working with a colored image, we will proceed with the Multicolor option. If you are working with a black and white image, using Single Scan would be more appropriate.
There are four options under Detection mode. Let's look at how they work:
- Brightness Steps: Performs a black-and-white trace using the brightness levels of the pixels in the image.
- Colors: Traces based on color changes in the image.
- Grays: Reduces the image to grayscale tones and performs tracing based on contrast and brightness differences.
- Autotrace (Slower): Uses an automatic tracing algorithm to perform more complex tracing operations, but may take longer than other options.
Since our logo is colored, let's proceed with Colors.
The value specified as Scans is actually the number of colors in the resulting vector graphic. By changing this value, you can get a result with more or less detail. Experiment with this value to find the best one for your needs.
Click the Apply button to convert your raster design to a vector graphic.
3) Simplify
Select the Node Tool again from the toolbox.
If you think your graphic has been created with too many nodes, the solution in Inkscape is very easy.
Click on Simplify under the Path menu.
You will see that the number of nodes has decreased.
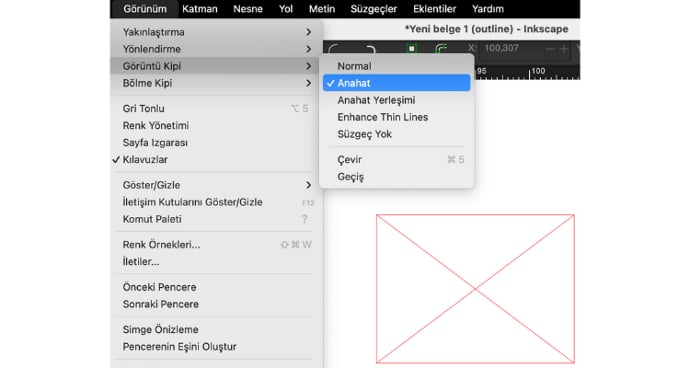
The next thing we'll do is switch to the Outline view from the Display Mode submenu in the View menu. In this view, we can clearly see the nodes that make up our drawing.
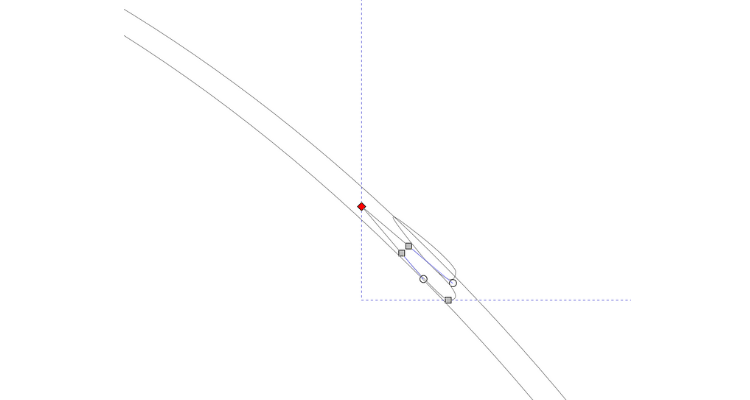
Even though we ran the Simplify command, unnecessary shapes may have been created as seen in the image on the left.
After making sure the Node Tool is selected from the toolbox, click on these excess nodes with your cursor and delete them.
After deleting all the excess, switch the view back to Normal.
Congratulations. You have successfully converted your raster image to a vector graphic.
When you zoom in on your vector graphic, you will see that it does not pixelate.

Pre-Print Checklist
Make sure you check the following before sending your file to us.
- The file format is one of the accepted formats: .pdf, .svg, .ai, .cdr, .afdesign, and .eps
- The design is vectorized.
- All geometries are closed.
- All text has been converted to outlines.
- The CMYK color model has been used in the design.
- The design should be at 1:1 scale.